We recently played a fun 10mm ACW “Shiloh – The Hornets Nest” at my house a few weeks ago. I’m just getting around to writing the AAR now, since CBB has been keeping me busy lately! We used the CBB Shiloh specific terrain mat, and it made set up super quick and easy. I was probably set up in less than 10 minutes with the terrain! I just threw down the mat, and added some trees, cabins and fences. Boom…..done!
We used the OOB from John Hill’s “Across A Deadly Field”, which I adapted for F&F, but we played using the original Fire and Fury brigade rules. These classic old rules are fun and easy and play quickly. It was great to revisit them! I still prefer “Johnny Reb” and “ADF” for my “down and dirty” ACW games, but F&F makes a great “club night” or convention set of rules, especially for new players.
10mm is a great scale for ACW wargaming and I think the game looked great! The battle played out with the Rebs pushing on each flank, but not making much headway there. Their success came in the center, where they bombarded the Union line with their concentrated artillery (like they did historically). Gen. Prentiss was killed by a sniper, and the Federal forces holding the center of the line were ultimately bled out. The brigades of Lauman, Williams and the 6th Division were well shot up, which allowed the rebs to claim a hard fought victory. We weren’t able to finish the game due to time constraints, but it sure looked like the rebs would carry the day!
It’s a fun scenario in that the Union has to hold the line as a delaying action, but has no reinforcements. The Rebs have to push hard, but the terrain isn’t on their side (and many of their regiments also have some poor quality muskets). We started the battle at 11am and assumed that the Rebs had until the 3pm turn to break the Federal position. If they could break the line early, then Grant wouldn’t have had the time he needed to form his final Dill Branch defensive line and the historical outcome of the battle might likely change.
Good gaming! Cory R.
Here are some pictures from our game:
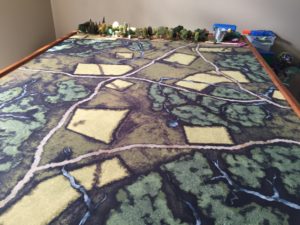
The initial terrain set up – just the mat!

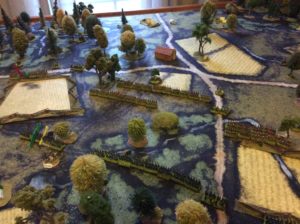
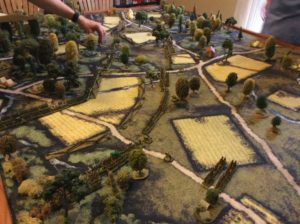
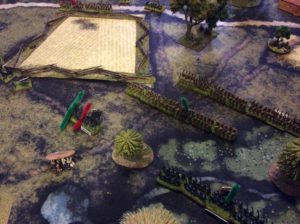
The brigades of Shaver and Stewart push across Duncan field!
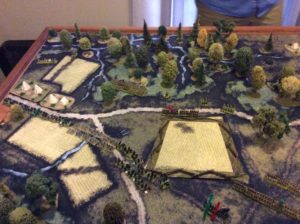
The Federal left flank area.
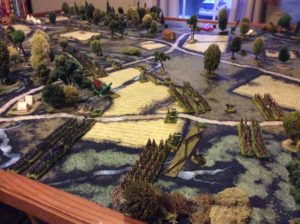
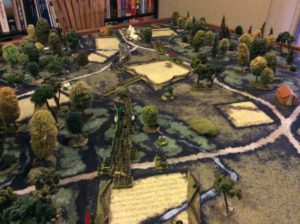
The center of the battlefield!
I think 10mm looks awesome!
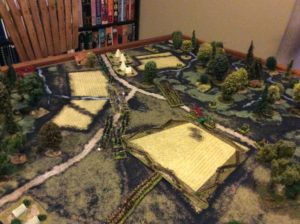
The Federal left flank defensive line.
Lots of ravines, woods, and broken ground to break up the CSA advance!
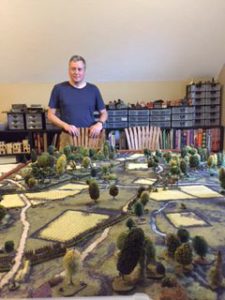
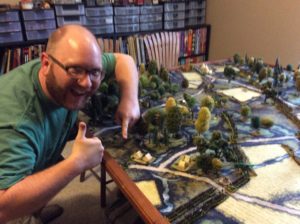
Cory Ring commanded the Federal troops.
Chris was able to drive back my 20# Parrott battery! This was a nice early success for the Rebs around Duncan Field.
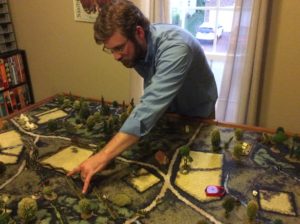
Josh commanded the CSA right and center. Chris commanded the left flank and some of the central troops.
The Death of Gen. Prentiss – killed by a Rebel sniper!
Notes: Most of the figures are 10mm Old Glory. The buildings are from Good Ground Miniatures, and many of the trees are German imports from Doug Kline at BTC.
2 responses to “Shiloh Hornets Nest 10mm game”
Close up pics please….
Absolutely beautiful game. I love these mats. The Waterloo mat with the TimeCast buildings made for an awesome bicentennial event at Texicon 2015.